Tuesday, May 16, 2017

String Backpack tutorial (part of our Silver Award Project)

My 8th grade Cadette troop is finishing up their Silver Award.  They worked with the local school staff and school district staff who support families in need.  Our school has a food pantry and provides other support for families who need it.  Our school district provides support for homeless students.  https://www.scps.k12.fl.us/district/departments/exceptional-student-support-services/student-services/families-in-need.stml

We had an event in the fall where younger scouts came and did crafts and had a snack and they donated hygiene items, or canned goods or hand-me-down jeans.  We gave the food items and jeans to our local elementary school.  We saved the personal care items for this project and supplemented the donations by purchasing additional items with troop funds.

One of the girls in the troop wrote up this tutorial for how we made the bags:

Hygiene Bags For Families


  1. Get the hygienic products to put in the bag. Including: 1 deodorant, 1 toothpaste, 1 shampoo or conditioner, 2 kid toothbrush (non gender specific), 2 adult toothbrush (non gender specific), 1 container of wipes, 1 floss, 1-2 body soap. 
  2. Measure the length and width of your back or someone else’s, in inches
  3.  Pick out the type of fabric you want to use, then cut out the length and width from your measurements from step 2, we specifically used quilting cotton 45” by about 15”
  4. Then get 3 pins and put them in the fabric along the shorter side of the fabric, and prepare to sew (both ends), this is going to be a channel for the string and make sure there is enough room to go through it twice
  5. Go to the sewing machine and make sure to sew with a straight line all the way thru, this will be the top opening of the bag.
  6. Fold the fabric in half so that the 2 seams are next to each other, right sides together, and pin.  Sew these two seams - these will be the sides of your bag.  Don't sew through the channel you made in the first step.
  7. Fold the bottom of the bag up about an inch or inch and a half and pin it. Sew this edge with a zigzag, it also needs to be wide enough for the cord to fit through it twice. Get nylon clothesline or paracord, safety pin and a lighter
  8. Take the safety pin and poke it thru the end of the rope or string you have selected ,start to sting the bag from the top all the way around, then thru the bottom, back to the top and repeat again, then tie a square knot with the ends
  9. Tie your hair back.  Use the lighter to melt the ends together, then melted the knot a little to secure it even more.  
  10. Gather the hygienic supplies from the beginning and put them all in the bag  
  11. Close the bag
  12. You’re done! 

Monday, January 04, 2016

Last minute crafting


The plans.  Sometimes, they go awry.


I was kind of late to the game for being organized for Christmas this year.  So, I started a hat for my grandmother at the last minute.  As you do.

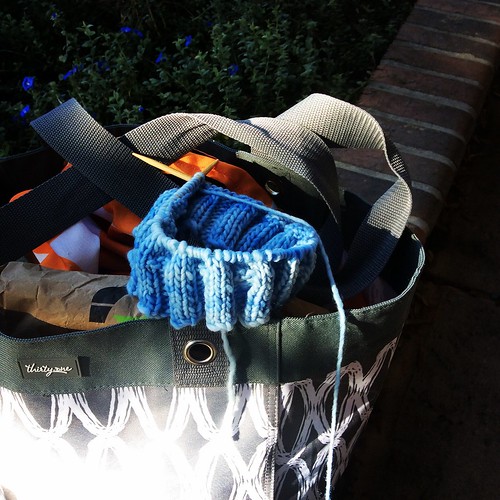
It was gorgeous, light blue Malabrigo.  Like butter.  Fun to knit.  Would work great with her other recent handknits.

\Grandma's First Hat

Then I realized it was hand-wash only.  Not nursing home friendly.

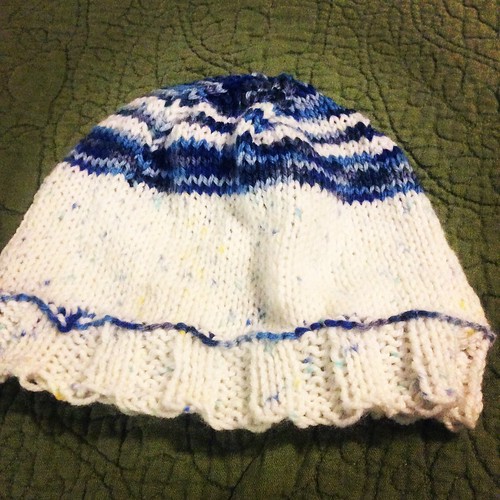
But my cousin has blue eyes and this would look great on her.  And she lives where it snows.  So, once I finished this hat, I took a second look at my yarn options and went for Plymouth Worsted and Cascade Pacific and came up with this.  If I were to do it over, I would have done it differently (helix from the start).

Grandma's Hat


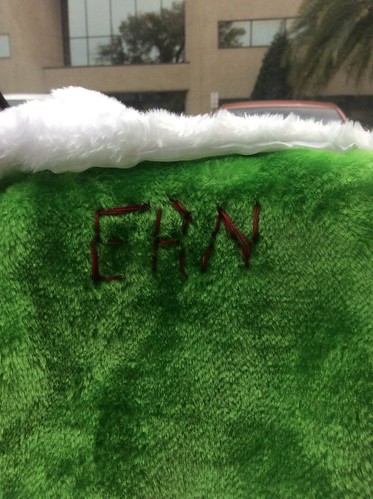
My even more last minute crafting is new stockings.  I realized that no one went to the attic to get the stocking box this year.  So, I bought new ones.  There was not much selection at the big box store at that point.  And then I zipped over to the craft store for dark red perle cotton and sewing needles.  My ambition was to add snowflakes or flowers or something great, but then I started doing their initials and remembered what my actual skill level is.  And I went with slightly wonky, but mostly legible initials.

Modified Stockings

Saturday, January 02, 2016

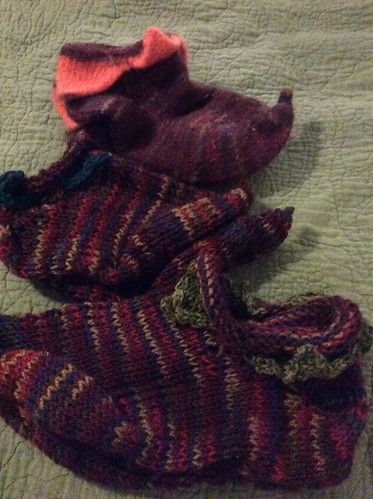
Elf Shoes for the girls!

On the one cold day we had this winter, the girls realized I had elf shoes and decided (remembered) they needed some of their own.


Elf Shoes for me!

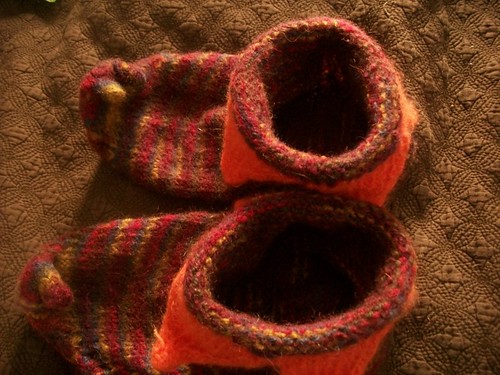
Mine are from 2008. I still had more of that yarn, including an un-started 2nd skein.  So, using all stash yarn, I made them slippers.


Elf Feet

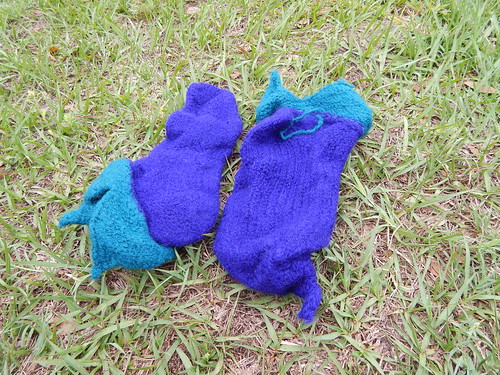
It was pretty straightforward.  But now was the tricky part.  Our old washing machine was great for felting.  But I knew the new one could go awry - after seeing the great elf sock disaster of 2014.

elf socks

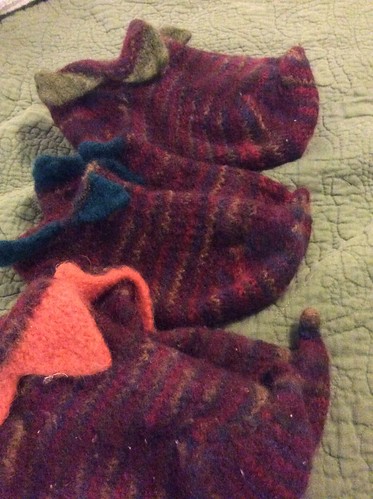
This time, I stuffed the socks with other stuff - dishtowels, socks, etc and put each one in a pillowcase.  And just washed on a regular wash cycle, Hot water.  This time, they did not felt enough and I had to run through it again.

Elf Feet 2

On the 2nd cold day of winter, after the socks were knitted, La was wearing my elf shoes and said she didn't like how the wool felt on her feet.  El feels like hers are too big.  But from a technical standpoint, they were a success.

Thursday, December 31, 2015

More sewing with El.


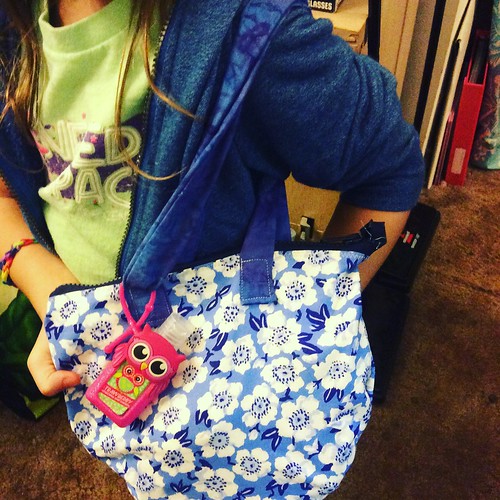
For pocketbook 2.0, the feature list includes:  a zipper, a curved bottom, and two handle shoulder strap.

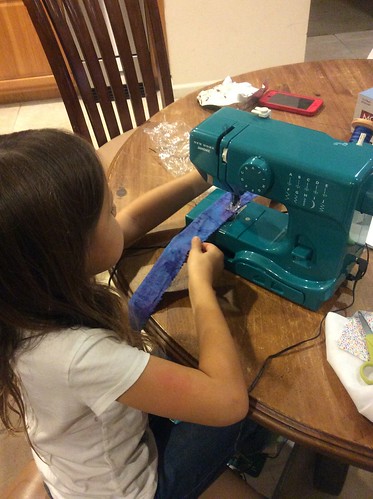
She got a blue sewing machine for Christmas.  Now we're figuring out where to set up her sewing table and I'm thinking about what projects will be fun and useful.  We know a couple of babies, so fat quarter quilts.  My folks could use some new placemats and my nephew brings cloth napkins.  Our main things to work on are consistent seam allowances, locking seams, turning corners and remembering to put the presser foot back down.

image

The machine seems to be pretty good.  I was really missing some of the features of my machine, like a light, the threader, a zipper foot, and seam allowance markings.  But what it does, it seems to do well.


El sewed the tubes for the straps, and then we needed to switch back to my machine once we got home.  And, um, switch sewists.


image

My first stab at the curved bottom was not curvy enough.  I had her draw a line on the inside with a washable Crayola marker and sewed along those lines and it was finally good.  Also, the inside edges are just pinked together, not hidden.  Should be good enough for this draft.  Also, I need to figure out how to do zippers better this year.

Again, she's happy with this pocketbook and using it regularly.  Also, I let her cut up some Kaffe Fassett stash for the body.  Cause I'm nice and I love her.