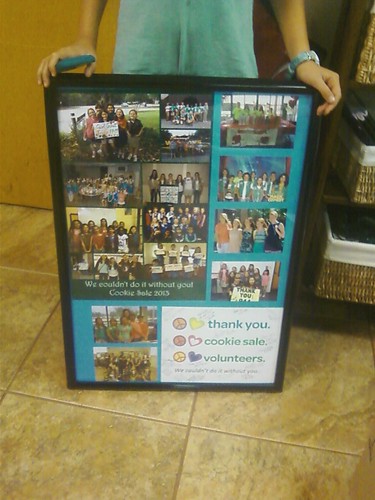
We presented one of these to each of the 4 cookie volunteers.

Here's how we did it:
We had troops take a picture of their girls, maybe with a "thank you" sign and either email it or drop off a paper copy of the print. I scanned in the pictures that were dropped off. I uploaded them to a photo processing site for my local warehouse club and had them made into a 12x18 collage poster. There are any number of places (drug stores, discount stores, warehouse clubs, online services, etc.) where you can do pretty much the same thing. It is worth it to shop around for the right combination of price and quickness of service. It was a pretty neat thing where you select the photos from the album that you want to use and then keep hitting the "shuffle" button until the layout is satisfactory.
The other thing that I made for this - so that it would be easy for troops to participate without finding/taking a picture was a signature card. For this I used card-stock (The card-stock choices at the office supply store are always overwhelming. I don't know why.) Our cookie bakery has a great library of clip art/stock photography that is available to use on their Flickr site. To get the picture locally - select the picture and then choose Actions>>View All Sizes. From that screen, I go to the "original size" page and then select, "Download the Original Size of this Photo."
For the later arriving photos (as there always are), I either uploaded to print enough copies of each or I brought them in to the drugstore to use their scanner gizzy and got prints made.
Here's how I assembled the gift. (I had a 25% off my entire Michael's purchase and I wasn't afraid to use it.)
Ingredients:
4 poster frames (20x28)
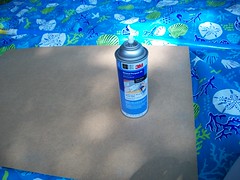
General Purpose 45
bulletin board paper
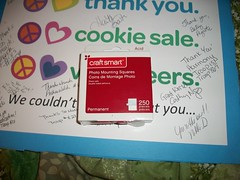
photo mount squares (thin)
I took apart the poster frames and there was not additional layer of cardboard in them, so I used the fiberboard backs and the GP45, following the directions on the can, to glue on large sheets of bulletin board paper. I worked in the back yard, on a vinyl table cloth.

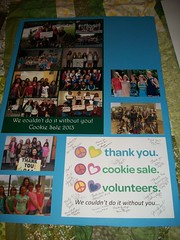
The collage had a "thin mint green" background, so I went with "shortbread blue" for the poster background. I trimmed the edges of the poster, not very carefully. I wanted them to tuck around the edges a little.

The next part was tricky. This is the part where "married to an architect" comes in handy. We worked up a reasonable page layout. Leaving space for even more latecomers or clip art.

Then, finally, commit to the design. These photo mount squares turned out to be great for this project.

I brought them over to the service unit manager's house and sure enough, another troop had turned in a picture. And her troop wasn't on there. Just enough room for 2 more pictures. Hopefully, these are a big hit tomorrow. I'm really happy with how they've turned out.

No comments:
Post a Comment