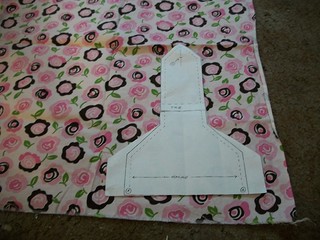
First, you can see the change I made to the pattern template - the base takes up the whole width of the copy paper (8 1/2") and so it has a different slope to narrow to the top part. You could have also made it a curve instead of a point.
To cut two, fold in half so that the selvedge is on your right and the width of the fabric is in front of you. For directional prints, this will give you one right side up, and one upside down. If the upside down is in the back, it will be right side up when it hangs from the stove.
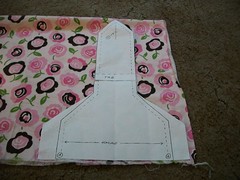
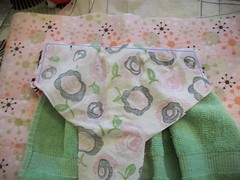
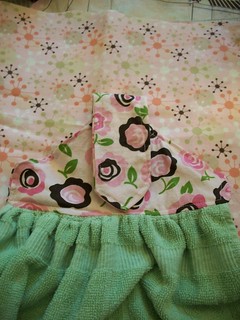
See? the image on the flap is right side up.

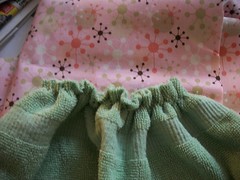
The first sewing step is to gather the half of the towel you're using.
Then make a little sandwich with the two top pieces and the towel half.
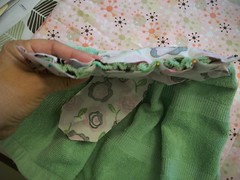
The blue is the sewing line I used. Make sure the towel is actually tucked in on the sides - you shouldn't be sewing through the towel on the sides, only along the bottom (top) edge. You can make a pretty significant seam allowance on the top edge, just to make sure you've got everything. It's a good time to check (before you sew) to make sure that the right sides are facing the towel. Also, that if it's a directional print, the towel's tag is on the same side as the upside down print. (e.g. the back)
The next trick is to swoop all of the towel out to the side. Again, the blue is the sewing line. It's a little fiddly to do this. If you're making this for craft fairs or something, you may want to change the template around a little to make it more forgiving.
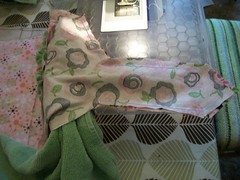
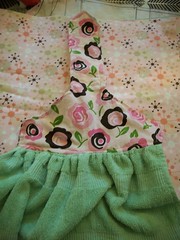
Turn it right side out and then top stitch along the edge of the printed fabric. Make sure you close that last angle part with the top stitching and reinforce where it's attached to the towel.
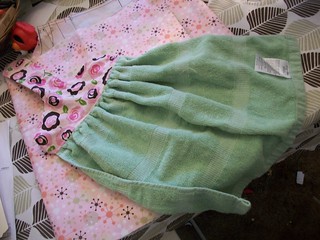
The back (upside down print + towel tag)
Then sew a button hole and button. But velcro seems like it would work OK too.
For the second one that I made, I accidentally did not put the right sides together in step 1. So, I ended up sewing around the edges with bias tape to seal it up. If you were to do this on purpose (use bias tape), I think it would be a good variation, espeically if there were rounded corners throughout.
No comments:
Post a Comment