The above is what they would have looked like if I had done the last few steps right. Also, I had a laundry accident with a pair of El's pink tights and decided to over-dye them while I was there.
Materials and things to think about ahead of time:
- men's undershirts in a variety of sizes (washed at home) Alternatively, everyone could bring in a white shirt from home that is prewashed.
- enough bottles of white or gel glue - doesn't have to be 1 for everyone, but probably no less than 1 for each 2 kids.
- cardboard wrapped with waxed paper to put inside the shirts. (We had one of my fearless co-leaders doing this at the meeting, but would have been better to prep it ahead of time.) We had leftover boxes from the fall product sale that I was saving for this. Soda 12-pack boxes, cereal boxes or cookie/popcorn boxes would work well too, as well as posterboards that are no longer needed.
- Sharpie or laundry marker for labeling the shirts. We (and by we, I mean another fearless co-leader) wrote it in the hem since they were tagless shirts.
- plenty of room - tables or floor space for working that is not going to get ruined with a little white glue.
- a way to bring the shirts home from the meeting or be able to dry them in place (this miracle was worked through a combination of fearless co-leaders and dedicated parents)
- Acrylic paint in the desired color (for this, I used 1 bottle of acrylic for 12 shirts, but previously, I used 3 colors in squirt bottles.)
The glue is going to spread out and settle - so being consistent with line weight works best and simple designs with lots of space and not a lot of letters - or make the letters big and blocky (not like regular handwriting).
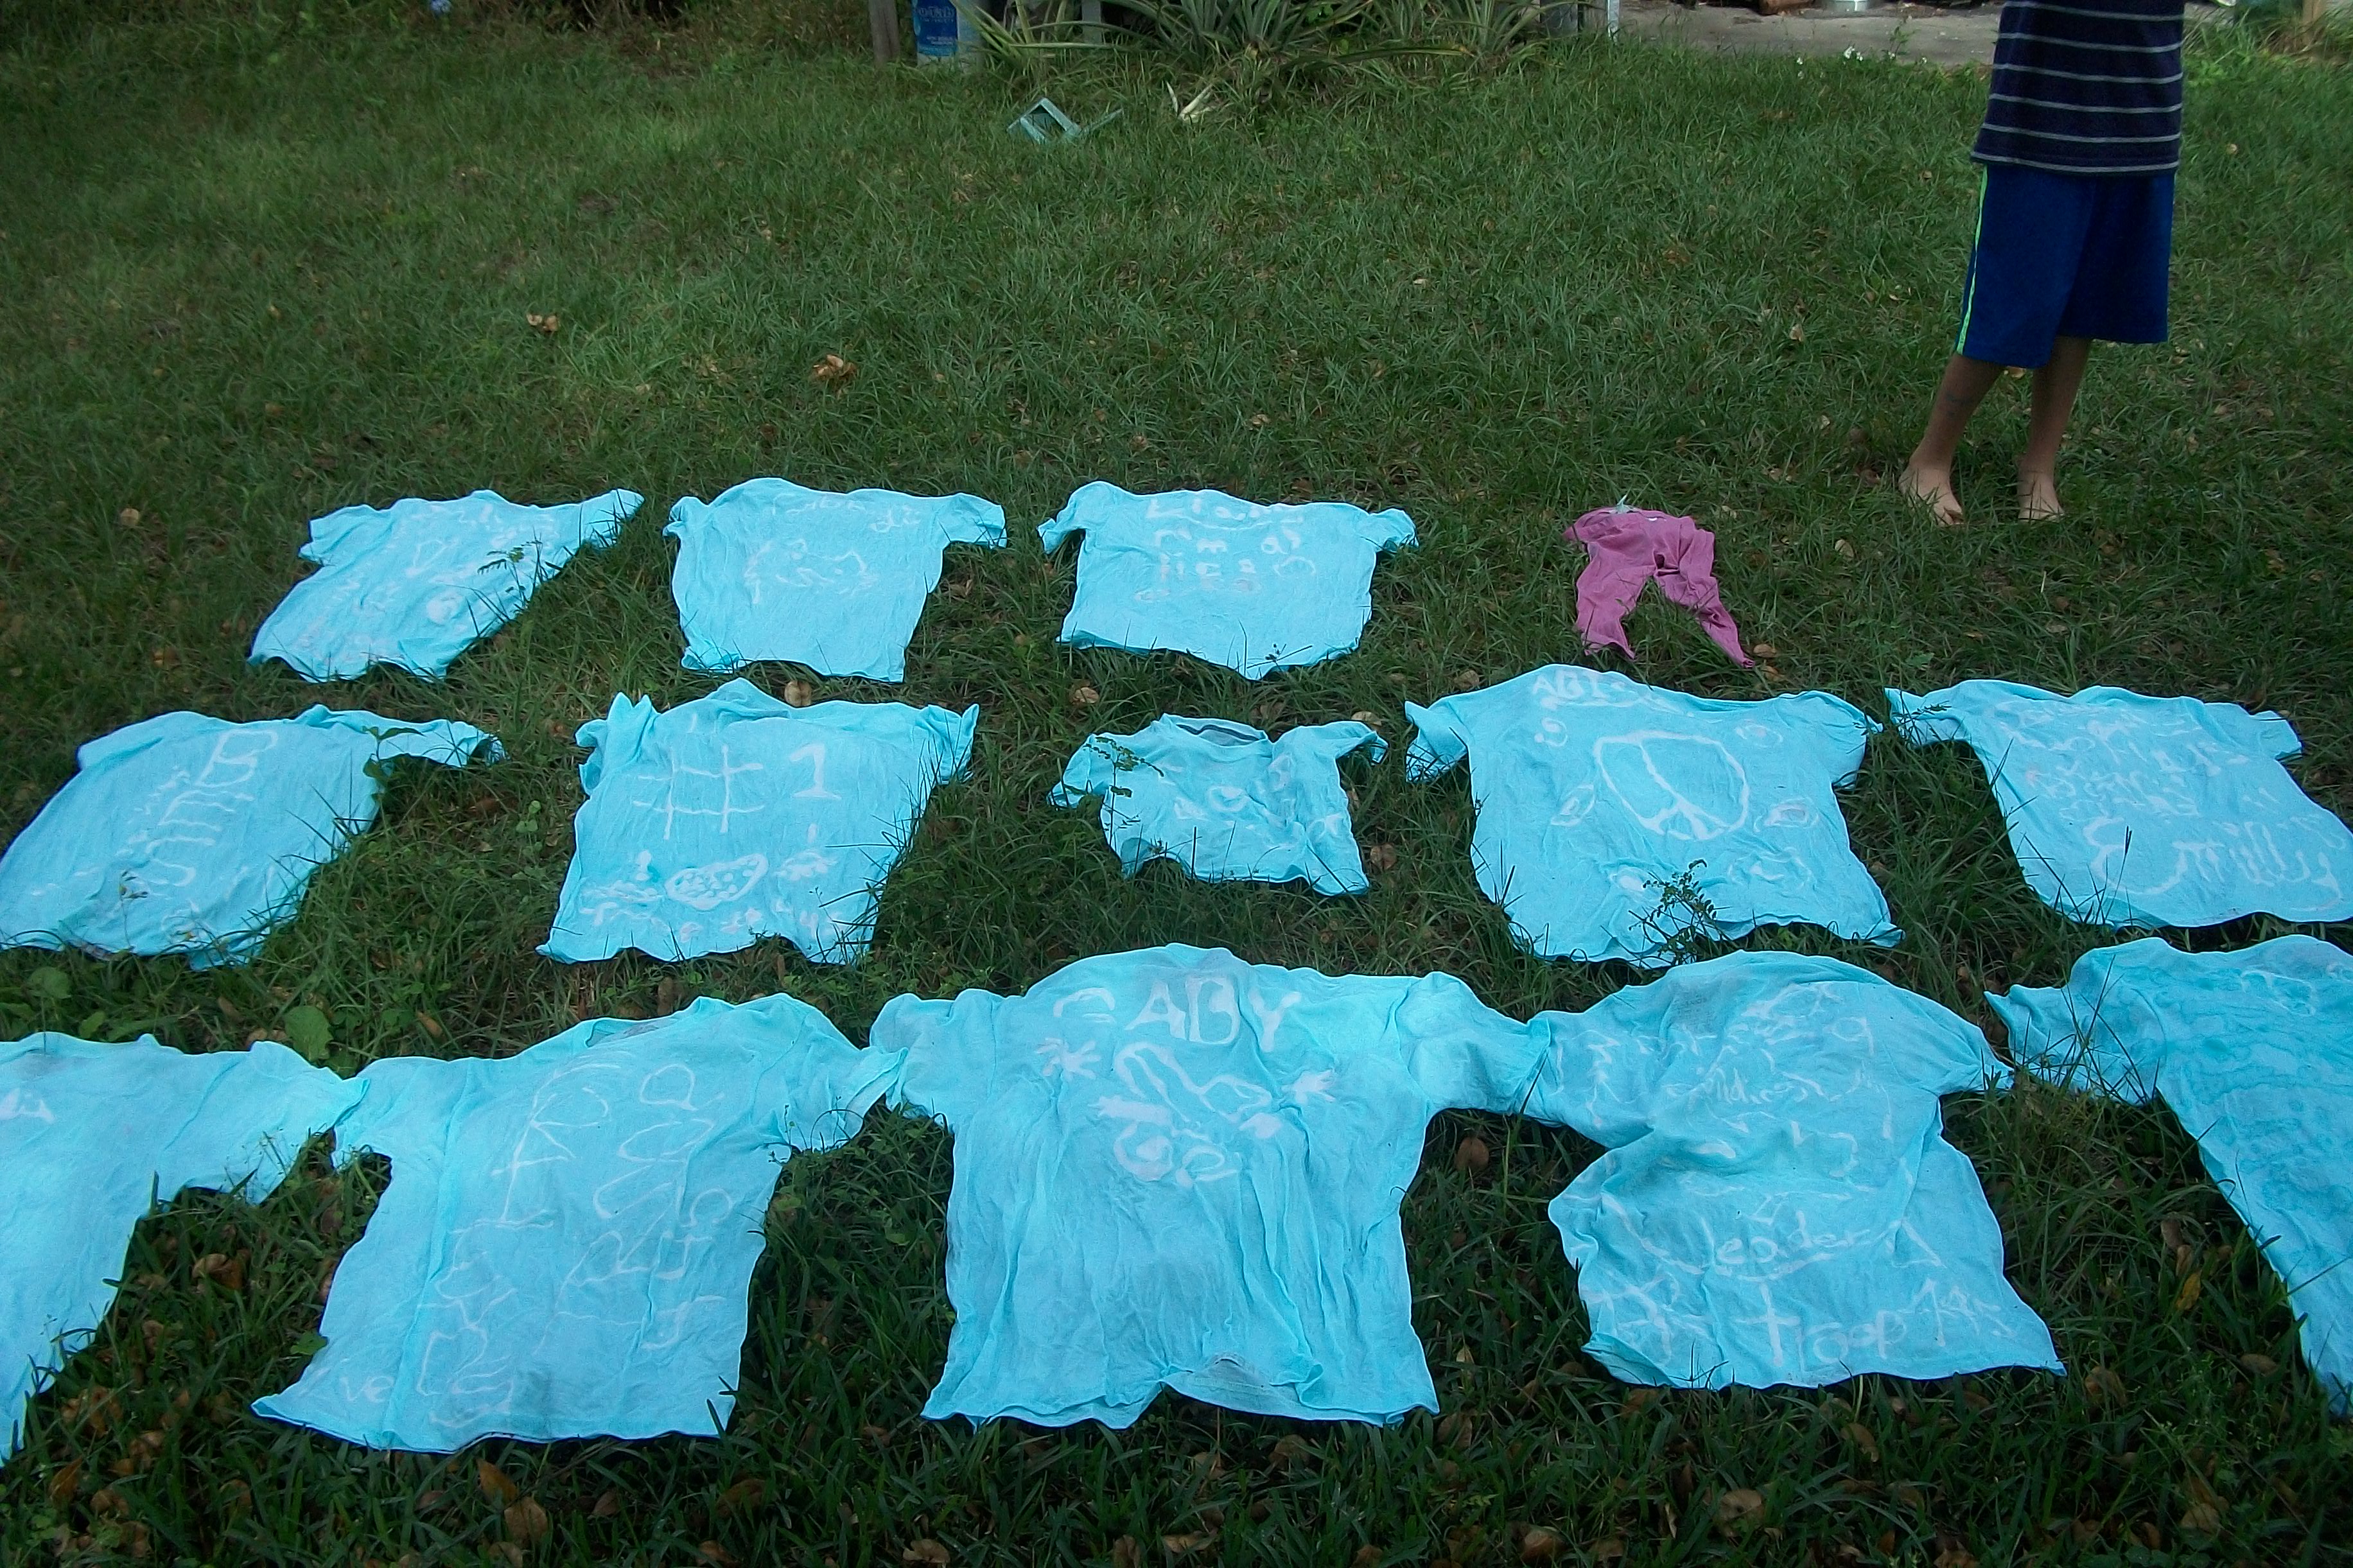
Once the glue dried, on a sunny afternoon, I tried doing the squirt bottle method that we did before, but that was going to be a resource hog. So, I took a bucket and mixed some of the acrylic paint and water and just swished each shirt through the mixture, refreshing when the liquid was getting low and making sure that the color got on everything. If you are more careful than me, you will figure out the ratio on the first batch and then add water and paint to refresh in the same ratio. Also if you are more careful than me, you will wear gloves for this and maybe a paint stick. Then I spread them out in the yard to dry.
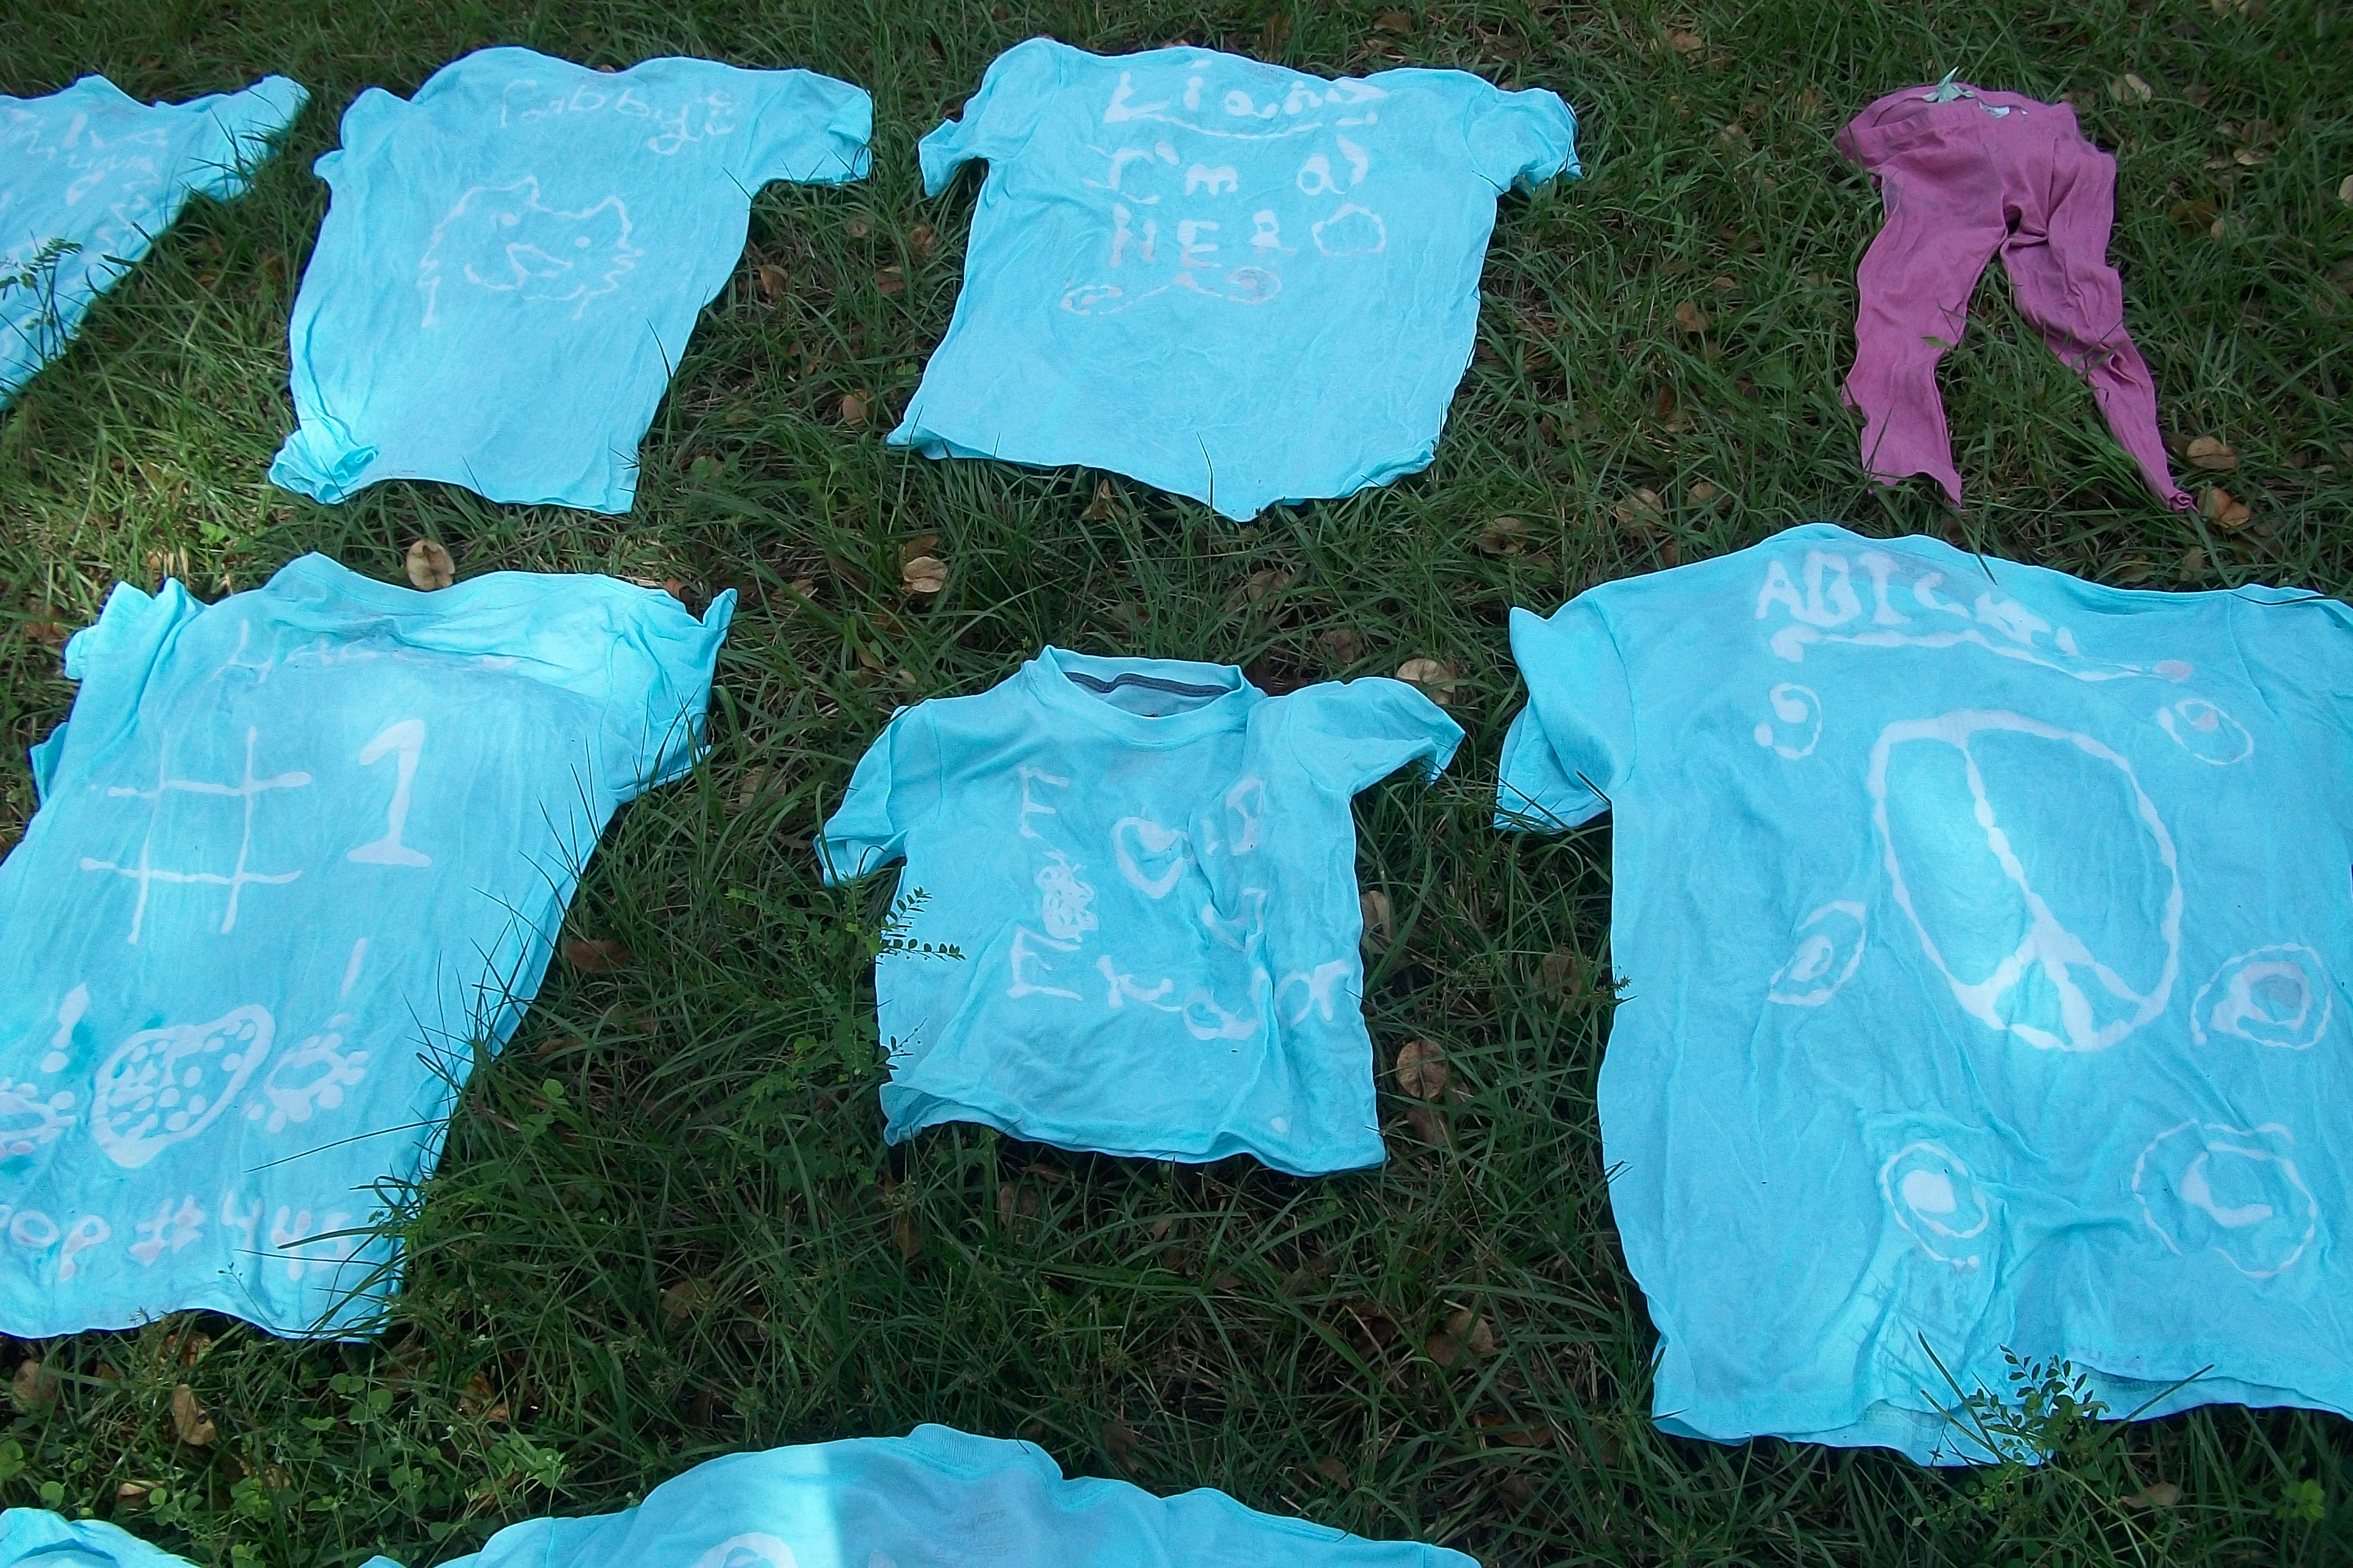
We were doing so well. Here's where things went south: I washed them before they were completely dry and after the wash the glue was gone and so was most of the color. The shirts were tinted an ice blue and you could only see where the glue was if you looked at it funny. In retrospect, when the sky turned cloudy, I should have put them in the dryer to seal their fate, then washed them. I was a little bit concerned about turning the inside of my dryer colors, but I have no way to know if that would have been a real issue or not.
In the end, we had signed up for a tie-dye class at camporee and we used our tinted, labeled shirts for tie-dye. The interesting result here was that the still white glue places took the dye a little darker than the tinted areas of the shirts, so you can kind of see where the design was after the tie-dye. To me, this is a totally intriguing result and if I were up for doing something with a lot of steps, we might do this process more one day.
No comments:
Post a Comment